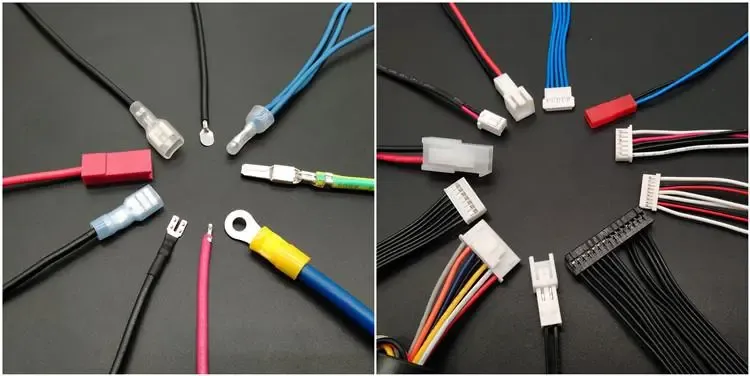
Proper installation of cable connectors is crucial for ensuring the stability and safety of electrical systems. Whether in home electrical systems or industrial equipment, a correct installation process can significantly enhance connection reliability and performance. Here are some key steps and practical tips to help you complete cable connector installation effectively.
Preparation
Steps
- Choose the Right Connector: Select the appropriate connector based on the cable type, current load, and environmental conditions.
- Check Tools and Materials: Ensure you have the necessary tools (such as screwdrivers, wire strippers, soldering equipment, etc.) and materials (such as insulation tape, terminal blocks, etc.).
Tips
- Using high-quality connectors and tools can improve installation quality and connection durability.
- Read the connector’s product manual to understand installation requirements and precautions.
Cable Preparation
Steps
- Strip the Wire: Use wire strippers to remove the insulation from the cable according to the connector’s requirements, ensuring the stripped length is appropriate for the connector’s contact points.
- Clean the Cable: Ensure the stripped cable ends are clean and free of oil or dirt to avoid affecting connection quality.
Tips
- Incorrect stripping length can affect connection quality; strip the wire according to the connector’s specifications.
- Use appropriate stripping tools to avoid damaging the cable or insulation.
Connector Installation
Steps
- Insert the Cable: Insert the stripped cable into the connector, ensuring a tight contact with the connector’s contact points.
- Secure the Connection: Depending on the type of connector, secure the cable to the connector using screws, soldering, or other methods.
Tips
- For screw terminal blocks, ensure screws are tightened sufficiently but avoid overtightening to prevent damage to the cable or connector.
- When soldering connectors, ensure the solder joints are even to avoid cold or dry soldering issues.
Testing and Inspection
Steps
- Inspect the Connection: Check that the cable and connector are securely connected and that there are no loose or disconnected parts.
- Test Electrical Performance: Use appropriate testing instruments to check the electrical performance of the connection, ensuring good contact and proper current transmission.
Tips
- Follow safety procedures when testing electrical performance to avoid electric shock or equipment damage.
- Regularly inspect and maintain connectors to ensure long-term stable operation.
Safety and Maintenance
Steps
- Insulation Treatment: Use insulation tape or heat shrink tubing to insulate exposed connection parts to prevent short circuits or electric shock.
- Secure the Cable: Ensure that the cable is properly secured after installation to prevent loosening of the connector due to vibration or pulling.
Tips
- In humid or high-temperature environments, choose connectors with protective features to enhance system reliability.
- Regularly inspect connectors for wear or damage and replace any faulty parts to ensure system safety.
Conclusion
Proper installation of cable connectors not only enhances system performance but also greatly reduces the risk of failures. By following these steps and tips, you can achieve high-quality cable connections and ensure the stability and safety of your electrical system.